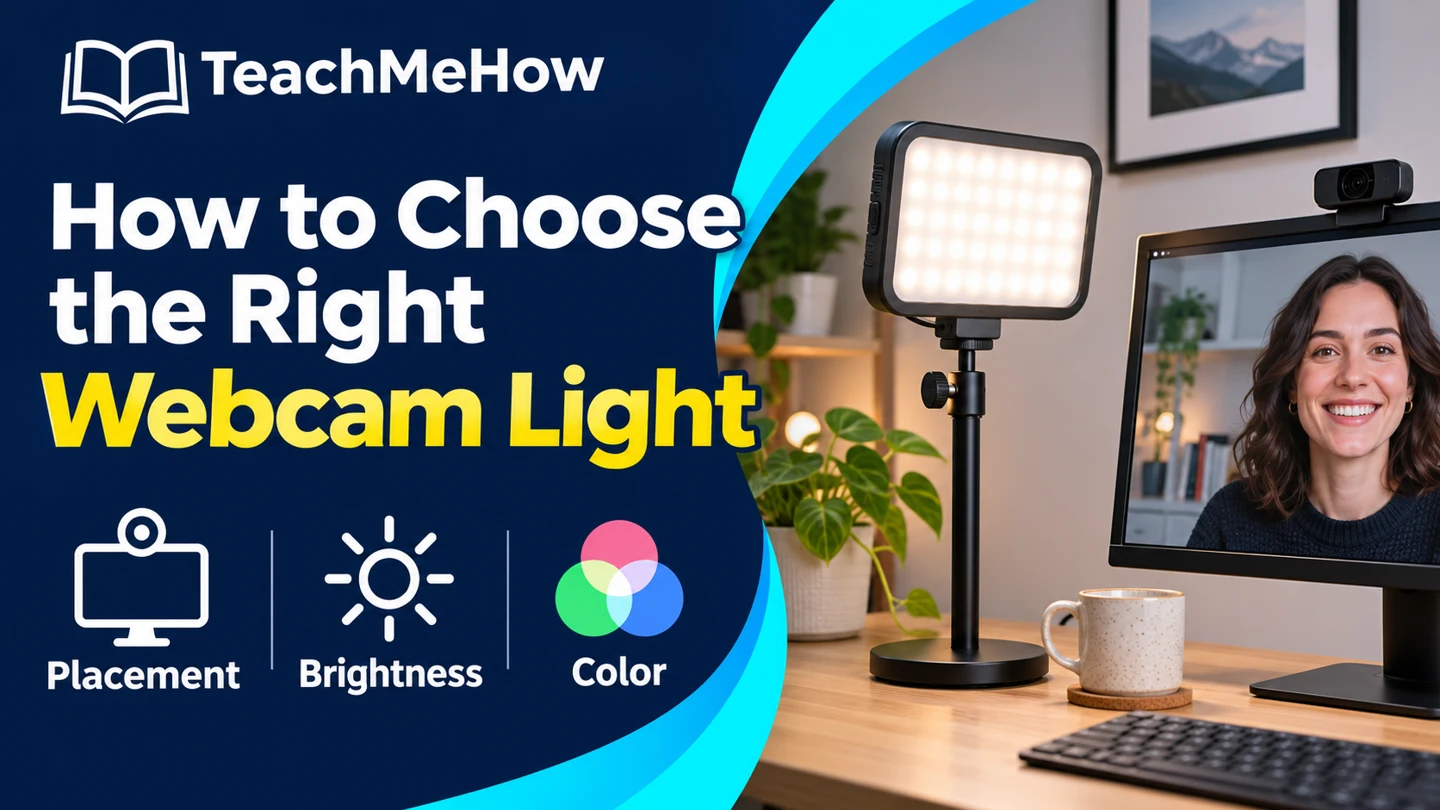
Compare clip-on panels, desktop lights, and ring lights for clearer video calls. Choose the right mount, brightness controls, and color settings.
If your face looks dark on video calls, check where the light is coming from. A bright window behind you can make the camera expose for the room. A small light near your screen can help, especially when daylight changes throughout the day.
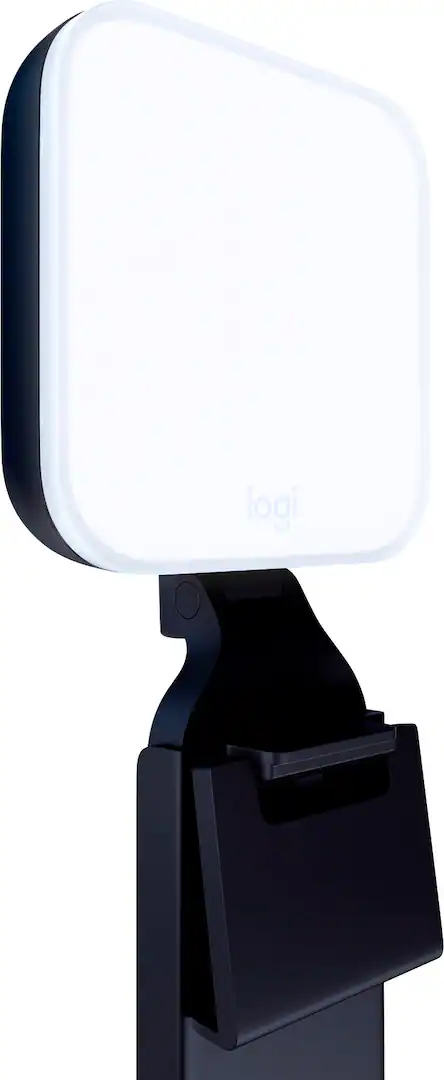
Quick AnswerStart with a dimmable, diffused LED panel you can place near eye level and slightly off to one side. Pick a monitor mount if desk space is tight. Choose a freestanding light if you need more flexibility or your display won’t hold a clip.
Compare Webcam Lights
| Light type | Good for | Check first |
|---|
| Monitor-mounted panel | Small desks and regular calls | Mount fit and available USB power |
| Freestanding LED panel | Flexible placement or multiple displays | Stand footprint and power cord reach |
| Ring light | Centered camera and simple front lighting | Glasses reflections and camera mounting |
1. Test Your Current Lighting
Open your camera preview and move a lamp or turn toward a window. If the image improves, focus on getting light in front of you. Watch the preview at the time of day you usually take calls.
2. Choose a Mount That Fits Your Desk
Check the thickness and shape of your monitor before buying a clip. A desk stand gives you more control over angle, but it needs room around your keyboard. Check whether the light can sit slightly above eye level without blocking the camera.
3. Look for Useful Dimming and Diffusion
A diffused panel spreads the light and can soften shadows. Check how low it dims for a dark room as well as how bright it gets. Compare brightness claims only when the measurement and distance are comparable.
Buying tipIf you wear glasses, check your camera preview with the light a little higher and to one side. Changing the angle often reduces reflections more effectively than increasing brightness.
4. Match the Color to the Room
Adjustable color temperature helps if you alternate between daylight and warm lamps. Start by matching the main room light so the two sides of your face look similar. Check whether you can change settings without opening an app.
5. Check the Power Source and Controls
Confirm whether the light needs a USB port or a wall outlet and whether the cable reaches. If you switch computers, controls on the light itself can be convenient. Check what happens to the last setting when the light is unplugged.
Which Setup Fits Your Calls?
| Your setup | Prioritize |
|---|
| Laptop and a small desk | Lightweight mount or compact stand |
| Glasses on most calls | Adjustable angle and off-axis placement |
| Calls during day and evening | Dimming and adjustable color temperature |
| Two displays or a wide desk | Freestanding panel with enough reach |
Common Mistakes
- Buying by maximum brightness alone.
- Putting the light directly behind the camera without checking reflections.
- Forgetting to measure the mount or cable route.
- Leaving a bright window behind you while testing.
Before You Buy
- Check where your current shadows and reflections come from.
- Measure the mount and available space.
- Confirm power, dimming, color controls, and cable length.
- Test the finished setup in your regular meeting app.
Bottom Line
Place the light where it can brighten your face without showing up as glare. A dimmable monitor panel fits a compact desk. A freestanding panel gives you more room to adjust the angle.

Comments
Comments are reviewed before they become public.
Sign in with Google to leave a comment.
Sign in with GoogleNo approved comments yet. Be the first to start the discussion.