Compare monitor arms by VESA fit, supported weight, movement, and mounting space before choosing one for your desk.
A monitor arm can free a patch of desk and put the screen where you want it. The most important measurements are the mounting holes on the monitor, the screen’s weight without its factory stand, and the desk space available for the base.
Quick AnswerStart with the exact monitor model. Match its mounting pattern and weight to the arm, then check the desk clamp or grommet requirements. Choose an articulating arm if you move the screen often or a pole mount if you mainly want it to stay put.
Compare Monitor Arm Types
| Type | Best for | Check first |
|---|
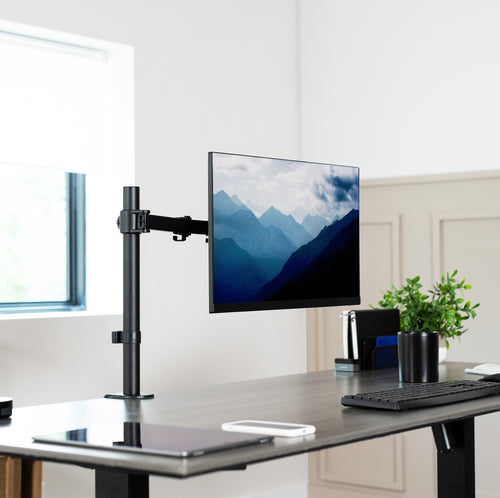
| Articulating arm | Moving a screen during the day | Supported weight range and usable reach |
| Pole mount | Holding one screen in a mostly fixed position | Height range and adjustment method |
| Dual arm | Two displays on one desk mount | Weight limit per arm and space between screens |
1. Match the Mounting Pattern
Find the mounting pattern in your monitor manual and compare it with the arm’s plate. Common patterns include 75 × 75 mm and 100 × 100 mm. A recessed mounting area may require compatible spacers or a specific adapter. Follow the model’s instructions for the hardware and screw length.
2. Check Weight Without the Factory Stand
Use the monitor’s weight without its factory stand. Include any adapter or accessory attached to the moving mount. For tension-adjustable arms, check the minimum as well as the maximum supported weight. For a curved or extra-deep display, confirm the arm maker explicitly supports your screen or its dimensions.
Buying tipOpen the arm maker’s installation guide before ordering. The drawings often show clamp depth and clearances that a product listing leaves out.
3. Measure the Desk Top and Underside
Measure thickness where the base will sit. Check for braces, drawers, or cable trays that could block the clamp. Confirm the desk maker allows a monitor mount on that surface and follow the instructions for both the desk and arm.
4. Plan the Screen Travel and Cables
Measure where the display should sit when pulled forward, moved sideways, and pushed back. Check the room behind the desk and allow slack for the full range of motion. For a portrait setup, account for the lower corner sweeping past the desk when you rotate it.
Which Arm Fits Your Desk?
| Desk setup | Prioritize |
|---|
| Single screen that stays in one place | A simple pole mount with enough height |
| Screen that moves during calls or collaboration | Easy reach, tilt, and height adjustment |
| Two monitors side by side | Per-arm weight limits and room to align both screens |
| Desk tight against a wall | Arm geometry that can fold within the available depth |
Common Mistakes
- Using screen size as a substitute for weight and fit.
- Forgetting to check the underside of the desk.
- Comparing maximum arm reach without accounting for the wall.
- Routing cables tightly before testing the full motion.
Before You Buy
- Find the monitor model, mounting pattern, and weight.
- Measure the desk and check permitted mounting methods.
- Check the range of motion at your planned mounting point.
- Confirm cable length and any adapter requirements.
Bottom Line
Match the monitor and the desk first. Once both fit, choose the amount of movement you’ll actually use. A monitor arm is most useful when it holds the screen where you want it without crowding the desk.

Comments
Comments are reviewed before they become public.
Sign in with Google to leave a comment.
Sign in with GoogleNo approved comments yet. Be the first to start the discussion.