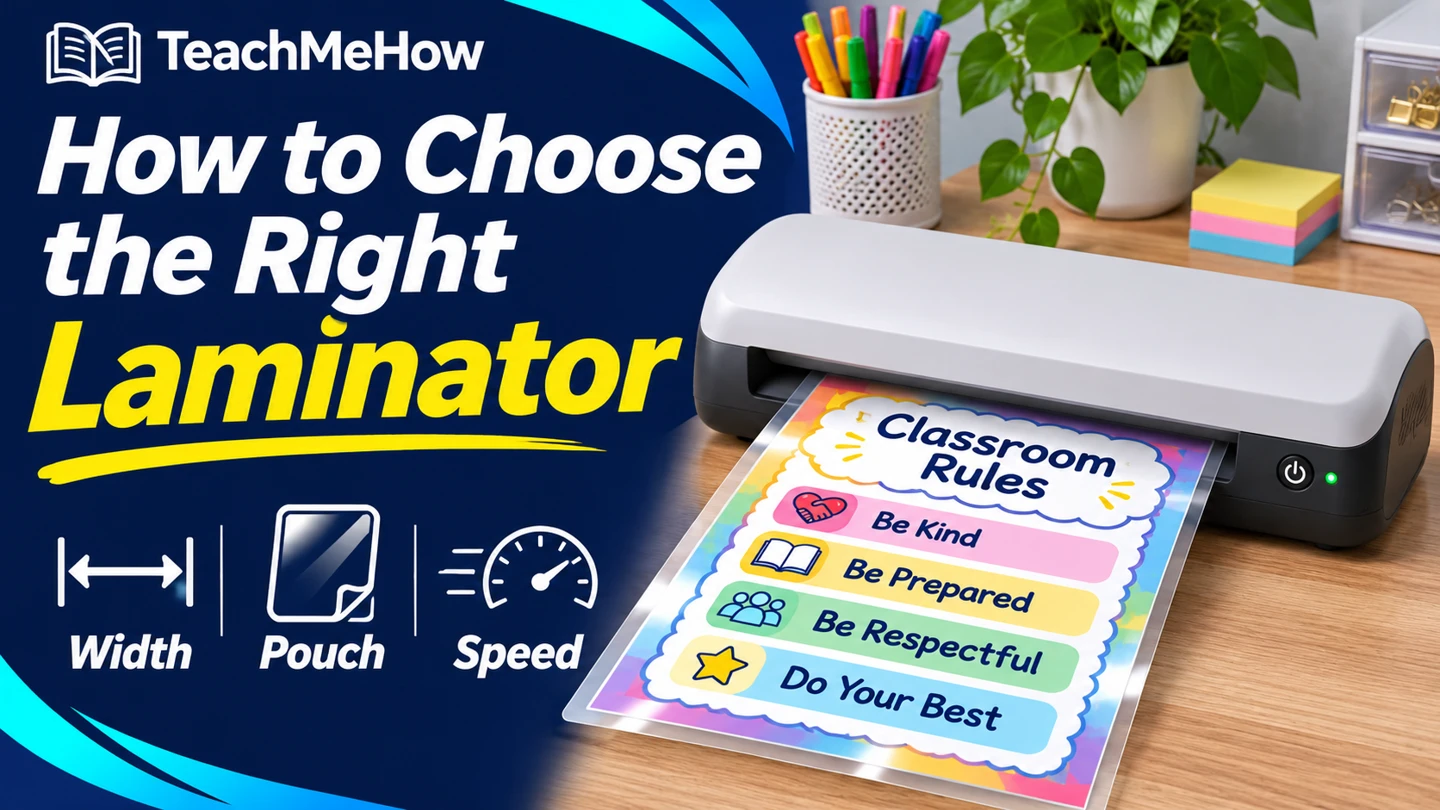
Compare pouch laminator widths, pouch thicknesses, and batch speed to find the right fit for home, classroom, or office projects.
A pouch laminator can turn a printed checklist, sign, or classroom activity into something you can handle repeatedly. Start by measuring the widest pouch you plan to feed and deciding whether the finished piece needs to bend or stay stiff.
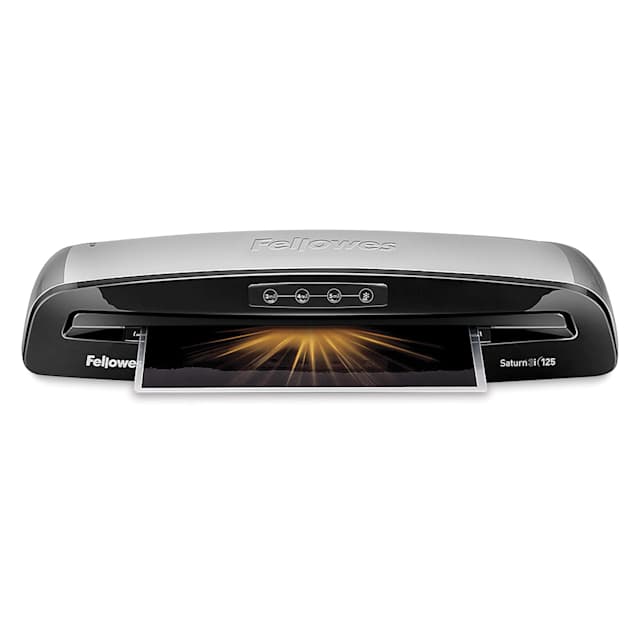
Quick AnswerChoose a letter-width thermal pouch laminator for routine letter-size sheets. Buy a wider model if you use pouches for menus or larger signs. Compare pouch thickness support and feed speed if you laminate thick cards or run batches.
Compare Laminating Options
| Option | Best for | Check first |
|---|
| Letter-width thermal | Checklists, homework aids, and small signs | Actual pouch width and supported thickness |
| Wide thermal | Large menus, signs, and classroom materials | Feed opening and clearance behind the machine |
| Cold or self-sealing | Items that need a heat-free method | Compatible adhesive pouch or sheet |
1. Measure the Pouch, Including the Border
The film extends beyond the paper. Measure across the edge you’ll feed into the slot and compare it with the opening in the machine’s specs. Leave room behind the laminator for a full pouch to come out onto a flat surface.
2. Choose Pouch Thickness for the Job
Thinner pouches leave a more flexible finish for items like reference sheets. Thicker pouches make signs or handled cards feel more rigid. Check the rating for each setting and how the pouch packaging expresses thickness.
Buying tipPrice the pouches in your most common size before choosing the machine. A low upfront price matters less if the refill size you need is hard to find.
3. Compare Warm-Up and Feed Speed
Warm-up time affects how soon you can start. Feed speed affects how long a batch takes once the machine is ready. For weekly batches, check both and confirm whether the manual calls for pauses between runs.
4. Look for a Practical Jam Release
A release lever or reverse button gives you a way to recover a misfeed according to the manual. Check how to orient the pouch and whether the model calls for a carrier. Use a spare print for the first pass.
5. Check Your Material Before Applying Heat
Try a copy when you have a valuable original or an item that could react to heat. Check the item and pouch instructions before laminating photos, thermal receipts, or unusually thick prints. A heat-free option can work when the material calls for it.
Which Laminator Fits Your Projects?
| Your project | Prioritize |
|---|
| Occasional letter-size checklists | Compact thermal machine and common pouch sizes |
| Reusable classroom materials | Feed speed and easy jam release |
| Wide signs or menus | A slot sized for the full pouch |
| Heat-sensitive printouts | Compatible cold or self-sealing supplies |
Common Mistakes
- Measuring the sheet and overlooking the pouch border.
- Buying thicker pouches than the machine supports.
- Setting the laminator against a wall with no room for the pouch to exit.
- Using a valuable original for the first test.
Before You Buy
- Measure your largest pouch and available desk space.
- Decide how flexible you want the result.
- Check compatible supplies, jam release, and feed speed.
- Budget for a sample run and spare pouches.
Bottom Line
Buy for your usual pouch size and thickness. A compact thermal machine suits routine letter-size projects, while a wider slot and faster feed are worth comparing for larger projects or regular batches.

Comments
Comments are reviewed before they become public.
Sign in with Google to leave a comment.
Sign in with GoogleNo approved comments yet. Be the first to start the discussion.