How to Choose the Right Christmas Village Set
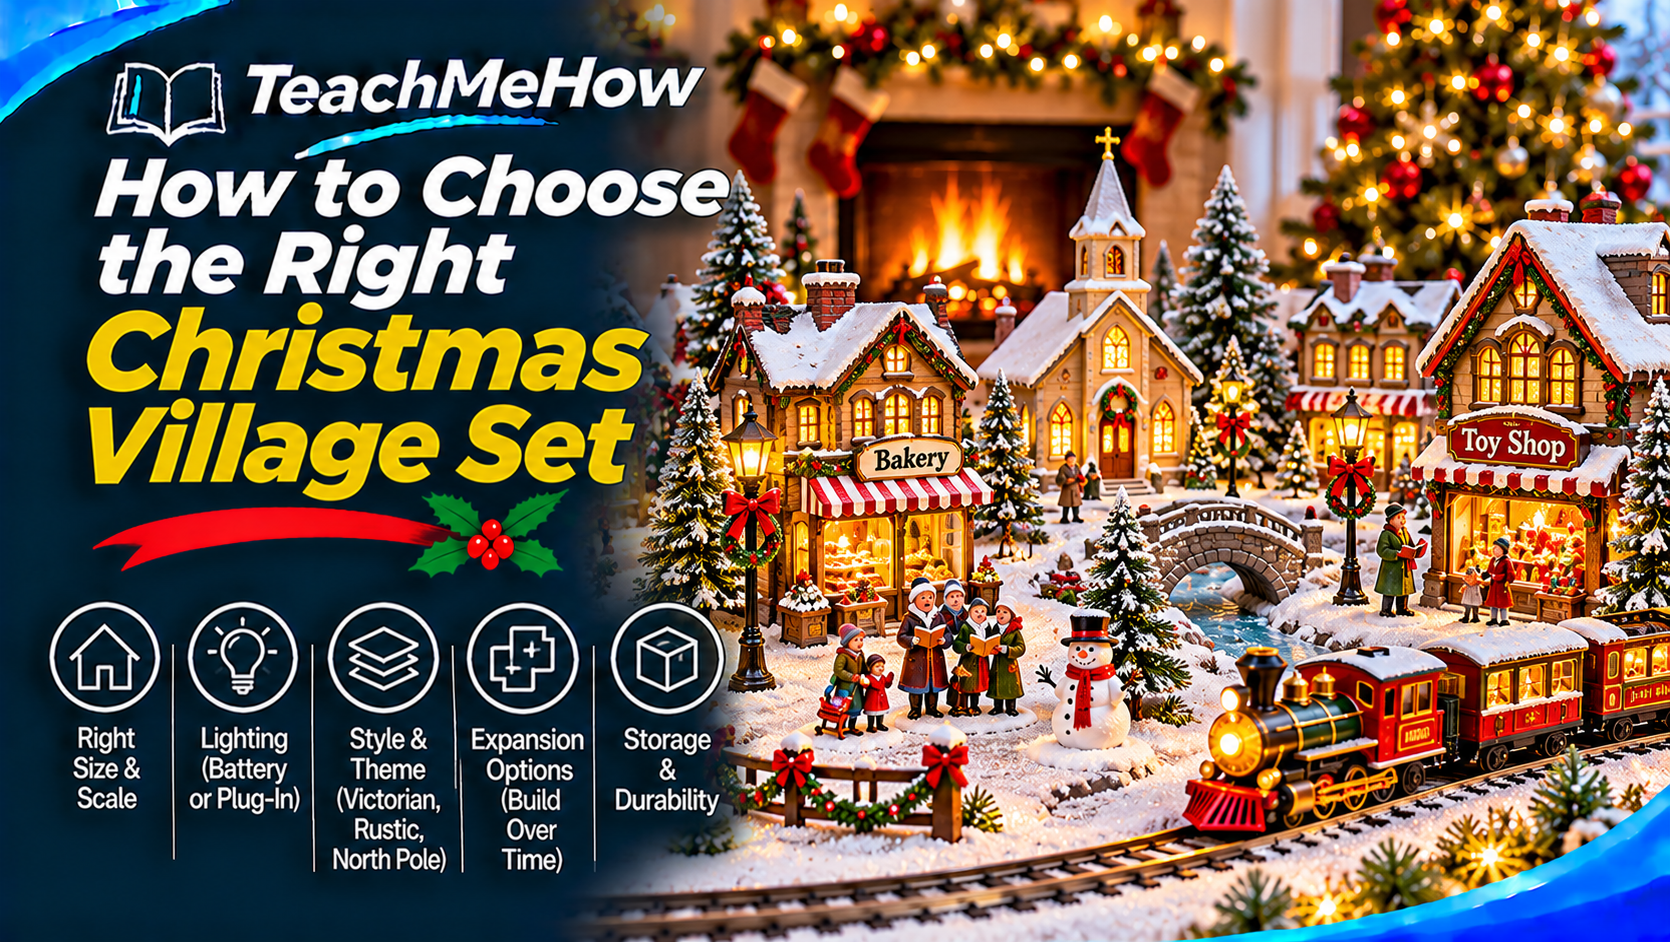
Learn how to choose the right Christmas village set based on scale, lighting, building style, expansion options, display space, power requirements, storage, durability, and overall holiday theme.
Follow these steps at your own pace. Check product terms and prices directly with providers before purchasing.
How to Choose the Right Christmas Village Set
A Christmas village can become one of the most memorable parts of your holiday decorations. Whether you want a small illuminated scene on a mantel or a large collectible village that grows every year, choosing the right scale, lighting system, materials, and theme can make the display much easier to build and maintain.
For most households, start with a small matching village set that includes illuminated buildings and a few accessories. Choose a collection with additional buildings available later so you can expand the display without ending up with pieces that look noticeably different in size or style.
✨ What Matters Most?
| Feature | Why it matters |
|---|---|
| 📏 Scale | Determines whether buildings, figures, trees, and vehicles look natural together. |
| 🏠 Building style | Sets the visual theme for the entire village. |
| 💡 Lighting | Illuminated windows make the village much more dramatic at night. |
| 🔌 Power system | Affects cord clutter and how easy the display is to operate. |
| ➕ Expansion | Important if you want to add new buildings in future years. |
| 📦 Storage | Fragile village pieces need safe protection for most of the year. |
1. 🎄 Decide How Large You Want the Village to Become
Before buying individual buildings, think about your long-term goal.
Some people want a small scene with three or four buildings. Others enjoy adding a new shop, house, church, train station, or figure every Christmas until the display fills an entire table.
If you expect to expand the village over time, choose a collection with many compatible buildings and accessories rather than a one-off decorative set.
2. Measure the Display Area First
Christmas villages can spread much farther than expected once trees, roads, people, snow, and other accessories are added around the buildings.
Measure the shelf, console table, mantel, buffet, or dedicated platform before shopping.
| Display space | Good approach |
|---|---|
| Small mantel | Two or three narrow buildings |
| Console table | Small village with trees and figures |
| Dining buffet | Medium village with several buildings |
| Dedicated table | Expandable village with streets and scenery |
| Large platform | Full village with trains, mountains, and multiple zones |
3. Scale Is More Important Than Many Buyers Realize
If one building is much larger than the others, the display can look less convincing even when every piece is attractive individually.
The same problem occurs when figures, vehicles, streetlights, and trees are dramatically different in scale.
Staying within one manufacturer or compatible collection is often the easiest way to keep proportions consistent.
4. Start With a Complete Village Set
For first-time buyers, a starter set can be easier than purchasing every piece separately.
A typical set might include:
- Two or more buildings
- People or figurines
- Trees
- Streetlights
- Snowy accessories
- Built-in lighting
This gives you a finished-looking display immediately while still leaving room for expansion.
5. 🏠 Choose the Village Style
Christmas villages come in many visual styles, and choosing a theme early makes future additions easier.
| Village style | Typical appearance |
|---|---|
| Victorian | Detailed historic homes, shops, churches, street lamps |
| Traditional small town | General stores, houses, schools, snowy streets |
| Rustic mountain village | Cabins, pine trees, lodges, snowy hills |
| North Pole | Santa workshops, elves, toy factories, bright colors |
| Modern village | Cleaner shapes, neutral colors, contemporary styling |
6. Victorian Christmas Villages
Victorian villages are among the most traditional styles and often feature detailed architecture, brickwork, shop windows, churches, horse-drawn carriages, and period clothing.
They work especially well in homes with classic Christmas decorations, warm white lights, garland, and traditional ornaments.
7. 🎅 North Pole Villages
North Pole collections tend to be more colorful and playful.
Buildings might include Santa's workshop, elf factories, candy shops, post offices, toy stores, and reindeer barns.
These displays are especially popular for family rooms and children's holiday areas.
8. Rustic Winter Villages
A rustic village focuses more on snow-covered cabins, pine trees, mountains, cottages, and ski-lodge-style buildings.
This style works beautifully with flocked trees, natural wood decorations, pinecones, plaid, and warm lighting.
9. 💡 Lighting Makes a Big Difference
Many Christmas village buildings contain interior lights that illuminate the windows.
At night, even a simple village can look much more impressive when the buildings glow from within.
If possible, choose village buildings with similar light color. One cool-white building surrounded by warm-yellow windows can stand out more than you expect.
10. Battery-Powered Buildings
Battery-powered village pieces eliminate visible electrical cords and are easy to position almost anywhere.
They work particularly well on mantels and shelves where access to outlets is limited.
The disadvantage is battery replacement, especially when the village contains many separate buildings.
11. Plug-In Village Buildings
Plug-in lighting avoids battery replacement and can be better for displays that stay illuminated for many hours every evening.
The challenge is hiding several cords and adapters.
A dedicated power strip hidden behind the display can help keep the setup organized.
12. USB-Powered Village Pieces
Some newer decorations use USB power instead of traditional adapters.
This can make it easier to power several pieces from a multi-port charger, but check total power requirements before connecting several decorations to one source.
13. ⏱️ Timers Make Village Displays Easier
A timer lets the village illuminate automatically each evening and turn off later at night.
This is especially helpful when several pieces would otherwise need to be switched on individually.
If your village uses plug-in power, connect the entire display to one timer or compatible smart plug whenever possible.
14. Ceramic vs. Resin Buildings
| Material | Advantages | Tradeoffs |
|---|---|---|
| Ceramic / porcelain | Traditional appearance and fine detail | Fragile and heavier |
| Resin | Durable, detailed, easier to shape | Quality can vary |
| Plastic | Lightweight and family-friendly | May look less premium |
15. Fragile Pieces Need Careful Placement
Porcelain and ceramic village buildings can chip or crack if they fall.
A high shelf may keep the display safe from children or pets, but it can also make decorating and wiring more difficult.
Choose a stable surface and avoid putting delicate buildings close to the edge.
16. 🐾 Homes With Pets
Cats may be especially interested in tiny trees, moving trains, or miniature figures.
If pets have access to the display, consider heavier buildings and avoid very small loose accessories that can be knocked onto the floor.
A raised village platform can also help.
17. Homes With Young Children
For young children, resin or durable plastic village sets may be more practical than delicate porcelain.
You can still create a festive display without worrying as much about fragile collectibles.
18. Add People to Make the Village Feel Alive
Buildings establish the scene, but miniature people make it feel like an actual town.
Figures can include:
- Families
- Carolers
- Ice skaters
- Shopkeepers
- Children playing in snow
- Santa and elves
- Police and firefighters
Try to choose figures that roughly match the building scale.
19. 🌲 Trees Create Depth
Miniature evergreen trees are one of the easiest ways to make a village look more complete.
Instead of spacing them evenly, group several trees together to create small forests and leave some open areas between buildings.
20. Streetlights and Benches
Small accessories can make empty spaces between buildings look intentional.
Streetlights, fences, benches, signs, lamp posts, and mailboxes add detail without taking up much room.
21. Roads and Pathways
Roads make the village layout easier to understand visually.
You can use commercial village road mats, dark craft paper, textured material, or simply create paths through artificial snow.
Avoid making every building face a different direction without any connection between them.
22. ❄️ Artificial Snow
Artificial snow helps hide electrical cords and gaps between platforms while creating one consistent winter landscape.
Loose snow can become messy, so snow blankets or batting are often easier for indoor displays.
Keep flammable decorative material away from hot bulbs or other heat sources.
23. Use Different Heights
A completely flat village can look less realistic.
Foam platforms or sturdy risers can create hills and allow buildings in the back to remain visible.
| Display level | Good placement |
|---|---|
| Front | People, benches, small trees |
| Middle | Shops and houses |
| Back | Church, large buildings, tall trees |
| Raised areas | Cabins, castles, mountain scenes |
24. 🚂 Add a Train Carefully
A miniature Christmas train can become the centerpiece of a large village.
But trains need more space than most people expect because the track needs a wide turning radius.
Measure the complete track layout before buying additional buildings.
25. Avoid Mixing Too Many Scales
There is nothing wrong with mixing brands, but dramatically different building sizes can break the illusion of a village.
If adding pieces from another collection, compare door height, figure size, and overall building proportions first.
26. Build the Village From the Back Forward
Place the largest buildings and elevated pieces first.
Then add smaller buildings, trees, people, and accessories toward the front.
This reduces the chance of knocking over delicate figures while reaching behind the display.
27. Hide the Cords Before Adding Snow
Plan electrical wiring before finishing the scenery.
Once cords are covered with snow blankets, trees, and decorations, changing them becomes much more difficult.
Platforms first, then buildings, electrical cords, roads, artificial snow, trees, and finally small figures and accessories.
28. ➕ Think About Future Expansion
Collecting a Christmas village can become a yearly tradition.
Before committing to an expensive collection, see whether the manufacturer regularly releases new compatible buildings and figures.
A widely supported collection gives you far more flexibility than an isolated set with no matching additions.
29. 📦 Storage Is a Major Part of Ownership
Village buildings are often among the more fragile Christmas decorations you own.
Keeping the original molded foam packaging can make storage much safer.
If the original boxes are discarded, use individually padded compartments so buildings cannot knock against each other.
30. Photograph the Display Before Taking It Down
If you like the arrangement, take a few photos before packing everything away.
Next Christmas, you can recreate the same layout quickly or use it as a starting point for a larger version.
Label boxes by building or village section and store tiny figures in separate containers so they do not disappear among larger pieces.
🎄 Which Christmas Village Is Best for You?
| Your goal | Prioritize |
|---|---|
| First village | Complete starter set with buildings and figures |
| Traditional display | Victorian or classic small-town collection |
| Kids' holiday display | North Pole theme and durable materials |
| Large collectible village | Expandable collection with consistent scale |
| Small mantel | Compact battery-powered buildings |
| Rustic Christmas décor | Cabins, snowy trees, lodges, warm lighting |
🎅 5 Common Christmas Village Buying Mistakes
- Buying without measuring the display area. Village accessories can double the footprint of the buildings.
- Mixing dramatically different scales. Small figures beside huge doors can make the display look inconsistent.
- Ignoring power requirements. Many illuminated buildings can create a surprising amount of cord clutter.
- Buying fragile pieces without planning storage. The village needs protection for most of the year.
- Expanding without a theme. A consistent style makes a large village look much more intentional.
🎁 Before You Buy: Christmas Village Checklist
- How much display space do you have?
- Do you want a small scene or a growing collection?
- What village style do you prefer?
- Are the pieces a consistent scale?
- Are the buildings illuminated?
- Battery, plug-in, or USB power?
- Can you connect everything to one timer?
- Ceramic, resin, or plastic?
- Are children or pets near the display?
- Are matching figures available?
- Can you add roads, trees, and streetlights?
- Does the collection have future expansion options?
- Do you have safe storage for fragile pieces?
- Will the original packaging fit your storage area?
The best Christmas village is one you can enjoy now while still having room to grow. Start with a consistent scale and style, choose a lighting system that is easy to manage, and leave enough display space for roads, trees, figures, and future buildings. A thoughtfully chosen starter village can become a holiday collection your family adds to for many Christmas seasons.
Comments
Comments are reviewed before they become public.
Sign in with Google to leave a comment.
Sign in with GoogleNo approved comments yet. Be the first to start the discussion.